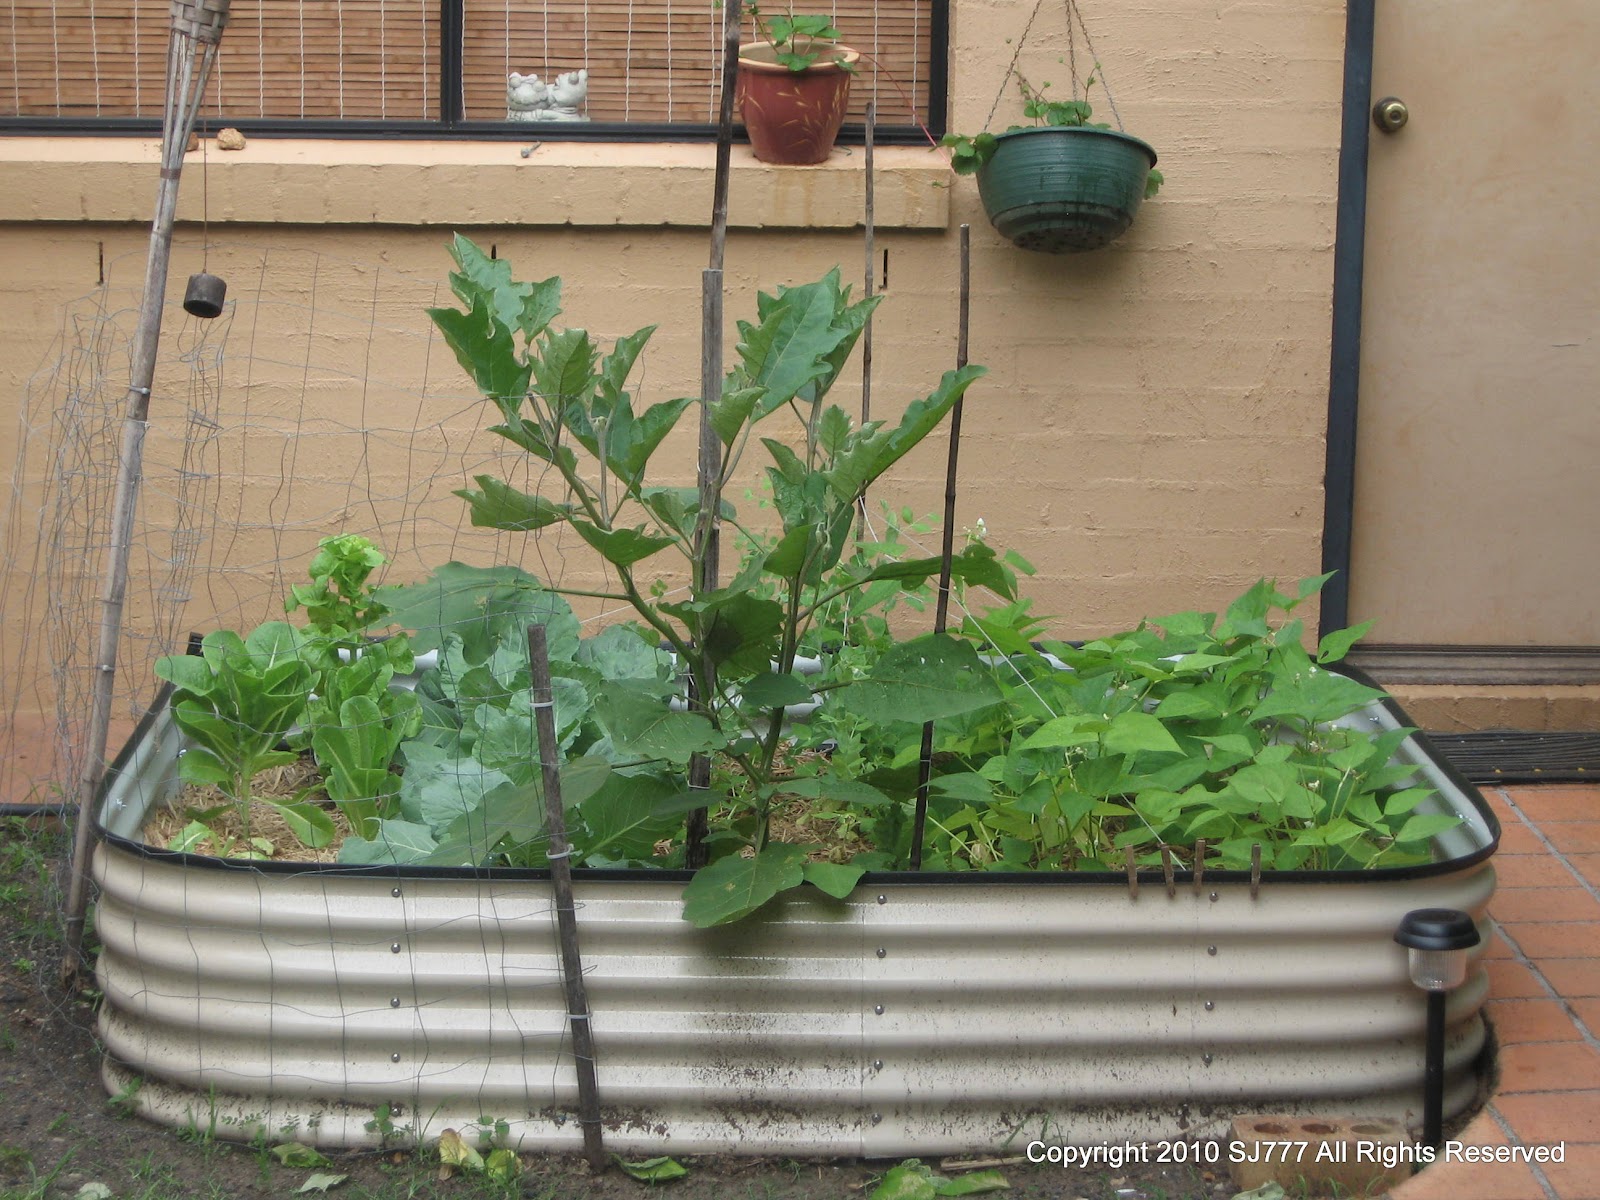
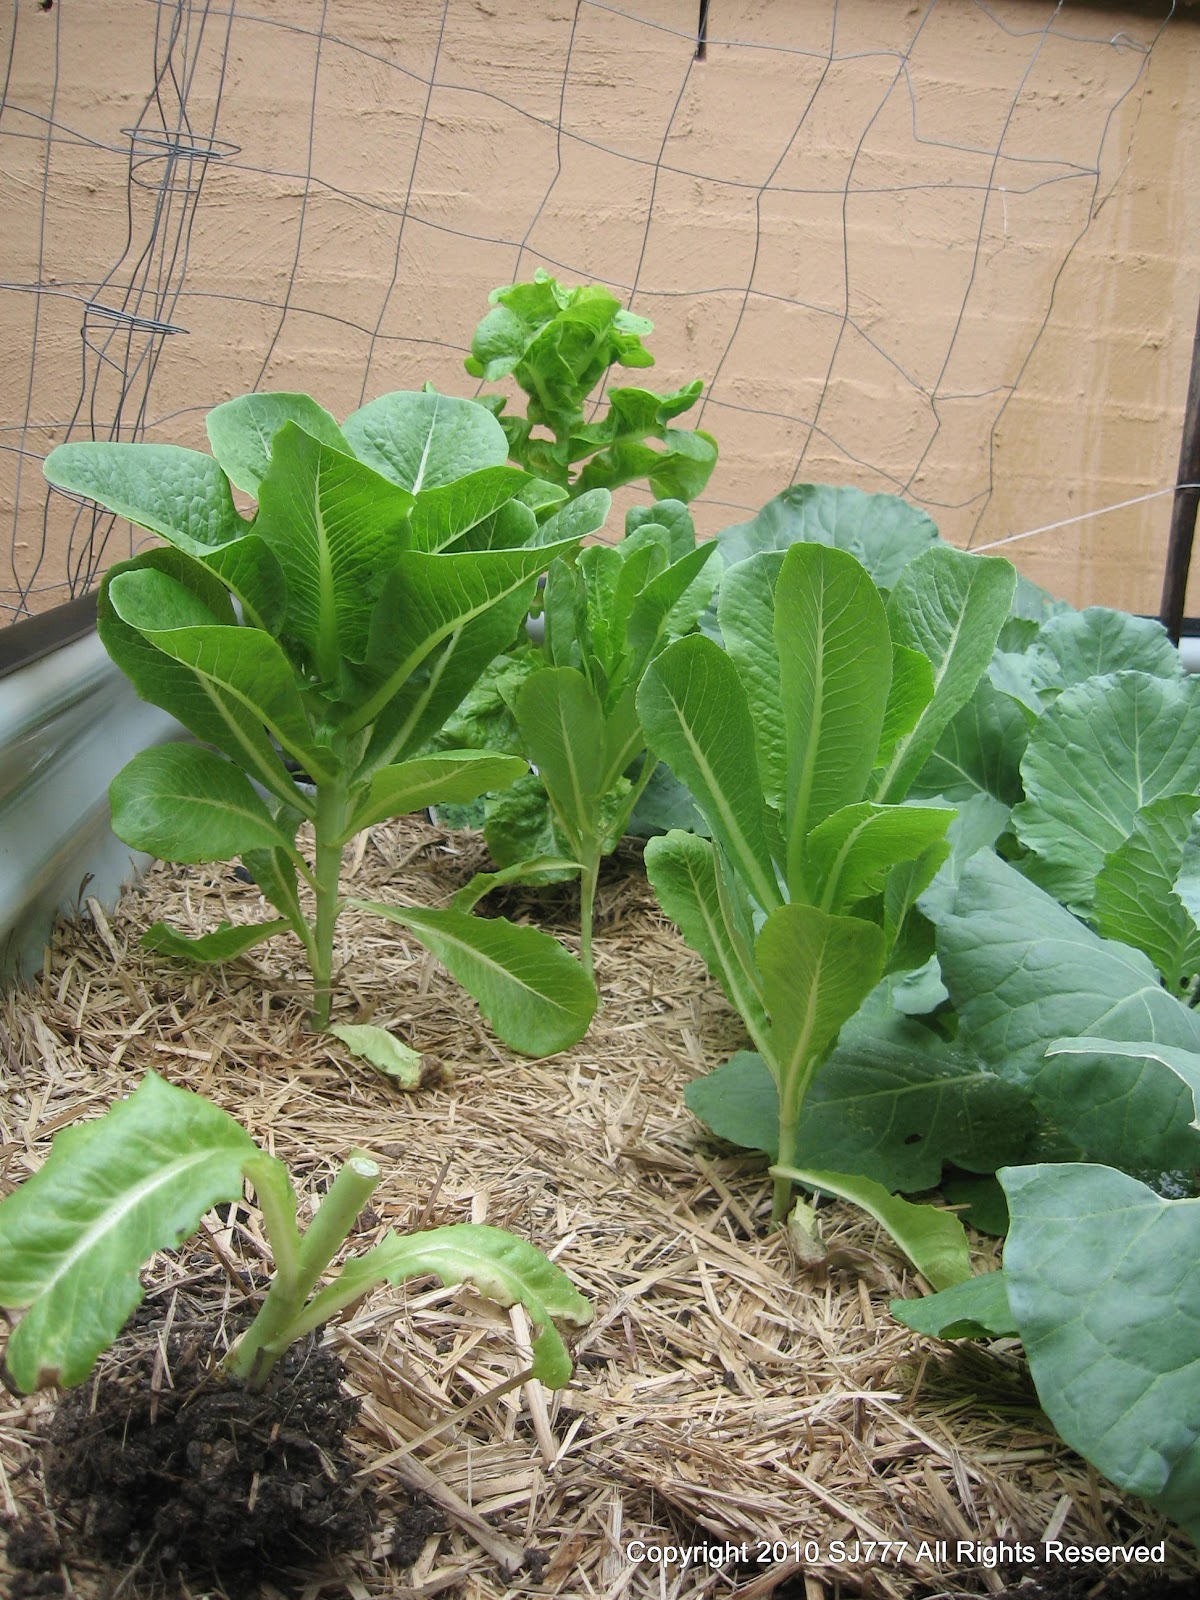
Lettuce are a filler crop that you can pretty much plant in any vacant spot in your vege garden that gets some reasonable sunlight. They're easy to grow from seedlings....as always make sure you prepare the soil well with blood and bone and lots of nitrogen and just stick them in, water in with seaweed fertiliser (repeat that every two weeks I suggest) and then just harvest the leaves as you need to once they grow a bit.
I've grown lettuce successfully from seedlings and until a little while back it didn't even occur to me to grow them from seed. Then I realised that if you let a lettuce go and dont pick it, you'll get a head of flowers and then behold! seeds! Well it's taken a good 2 months but patience pays off....I have started harvesting the seeds of my lettuce flowers...I think it's a coral lettuce. Its in the bottom left of the bed in the photo below
Here are a couple of close ups of the flower heads and the flowers and the seeds. They have a nice small yellow flower and then it goes to a cotton type ball of fluff which the seeds attache to. My method of getting the seeds is to pick the fluffy flow heads and hold the base of the flower where the seeds are and then pick off the fluff. The i roll the flower in my fingers upside down over a paper envelope and the seeds fall out into that. I sowed a few into some seed raising tubs tonight so will see how they go....
Tuesday, April 13, 2010
Tuesday, March 30, 2010
A nice haul for the morning
In an attempt to beat the pests to the fruit I picked a cabbage (baby), couple of eggplants, peas (that were sold to me as snow peas :0 and a bowl full of chillis.
Thursday, March 4, 2010
Solar Fountain Project
When we first bought the house in 2004 the previous owner had a nice big concrete pot/pond/water feature with gold fish and a DC powered fountain pump. It didn't take too long for our dog to destroy the pump cabling and the fountain arrangements. The pot survived and I tried various things over time but mainly what worked was just gold fish.
With the revamp of the backyard and a bit of know how under my belt, I decided to try again. The pot had started to leak so I had to seal it up. I used some non toxic Grit51 (or 52). Not the best colour but it works (i think - still waiting to really see).
With 2 weeks to cure I set about getting a reasonable solar power ELV pump. I found a good looking one on ebay and it inlcuded an LED ring to light the water at night. Got it for $60 which I thought was great.
My plan was to install the panel on the side of the adjacent house wall facing the north and run the cable across my solarspan awning down to the controller in flex conduit. I knew the cable to the solar panel would not be long enough, but was prepared for it.
We had some left over flex conduit from installing mum and dads auto swing gate opener (blog article to come). When it came to the crunch, it seemed like a whole lot of work for a fountain. So I decided a south west facing solar panel may be useable (maybe not so much in winter but I'll deal with that when the time comes). So in a moment of realisation that things can be done perfectly and expensively or they can be done close enough to perfect with some trade offs, I installed the panel on the ground right next to the fountain.
So its up and working and I'm happy with the result. I've temporarily sealed the ends of the conduits with electrical tape but will have to seal them properly once the weather fines up. I'm not 100% happy with the position or fixing of the controller to the awning post but there's not really another option for mounting it.
Friday, February 26, 2010
My Three Bed Rotation Plan
Okay so it's not perfect. I've only got room for three beds to do a rotation so this is my plan.
Essentially I have a bed with cabbage and peas/beans at the moment (BED 1). Once the beans and peas are dont late winter I am guessing, I will take advantage of the nitrogen the beans and peas have pumped INTO the soil and plant more brassicas (cabbage and broc etc). The beans and peas will then move to Bed 3 which at the moment is not really being used but for some lettuce at times. Bed 2 is my root bed. I have sown carrots, swedes, leaks and some garlic bulbs and they have already sprouted. I'll also plant Onions in there in winter. When the current Bed2 is harvested the peas and beans will move in and so the cycle goes.
I'll probably invest in an extra bed at some point but walk before run I say....
Bed 1 is looking pretty good. Planted and sown late Jan I already have beans!
Bed 2 Was sown about 2 weeks ago and the root veges have sprouted already:
| BED 1 | WHAT | ||||||||||
| Now | Legum Bed | peas/beans | |||||||||
| 2010 | Autum | Legum Bed | peas/beans | ||||||||
| Wint | Brassica | cab/broc/warrigal greens | |||||||||
| Spring | Brassica | cab/broc/warrigal greens | |||||||||
| Sum | Root Crop | carrots/parsnips/potatoe onions | |||||||||
| 2011 | Autum | Root Crop | onions/beets/sweded | ||||||||
| Wint | Legume Bed | peas/beans | |||||||||
| Spring | Legume Bed | peas/beans | |||||||||
| Sum | Brassica | cab/broc/warrigal greens | |||||||||
| Brassica | cab/broc/warrigal greens |
| BED 2 | WHAT | |
| Nothing | ||
| Root Crop | carrots | |
| Root Crop | onions/beets/sweded | |
| Root Crop | ||
| Legume Bed | ||
| Legume Bed | ||
| Brassica | ||
| Brassica | ||
| Root Crop | ||
| Root Crop |
| BED 3 |
| lettuce |
| lettuce |
| Legume Bed |
| Legume Bed |
| Brassica |
| Brassica |
| Root Crop |
| Root Crop |
Essentially I have a bed with cabbage and peas/beans at the moment (BED 1). Once the beans and peas are dont late winter I am guessing, I will take advantage of the nitrogen the beans and peas have pumped INTO the soil and plant more brassicas (cabbage and broc etc). The beans and peas will then move to Bed 3 which at the moment is not really being used but for some lettuce at times. Bed 2 is my root bed. I have sown carrots, swedes, leaks and some garlic bulbs and they have already sprouted. I'll also plant Onions in there in winter. When the current Bed2 is harvested the peas and beans will move in and so the cycle goes.
I'll probably invest in an extra bed at some point but walk before run I say....
Bed 1 is looking pretty good. Planted and sown late Jan I already have beans!
Bed 2 Was sown about 2 weeks ago and the root veges have sprouted already:
Bed 3 - well maybe another time :P
Tuesday, February 23, 2010
Heat Tube Solar Hot Water System
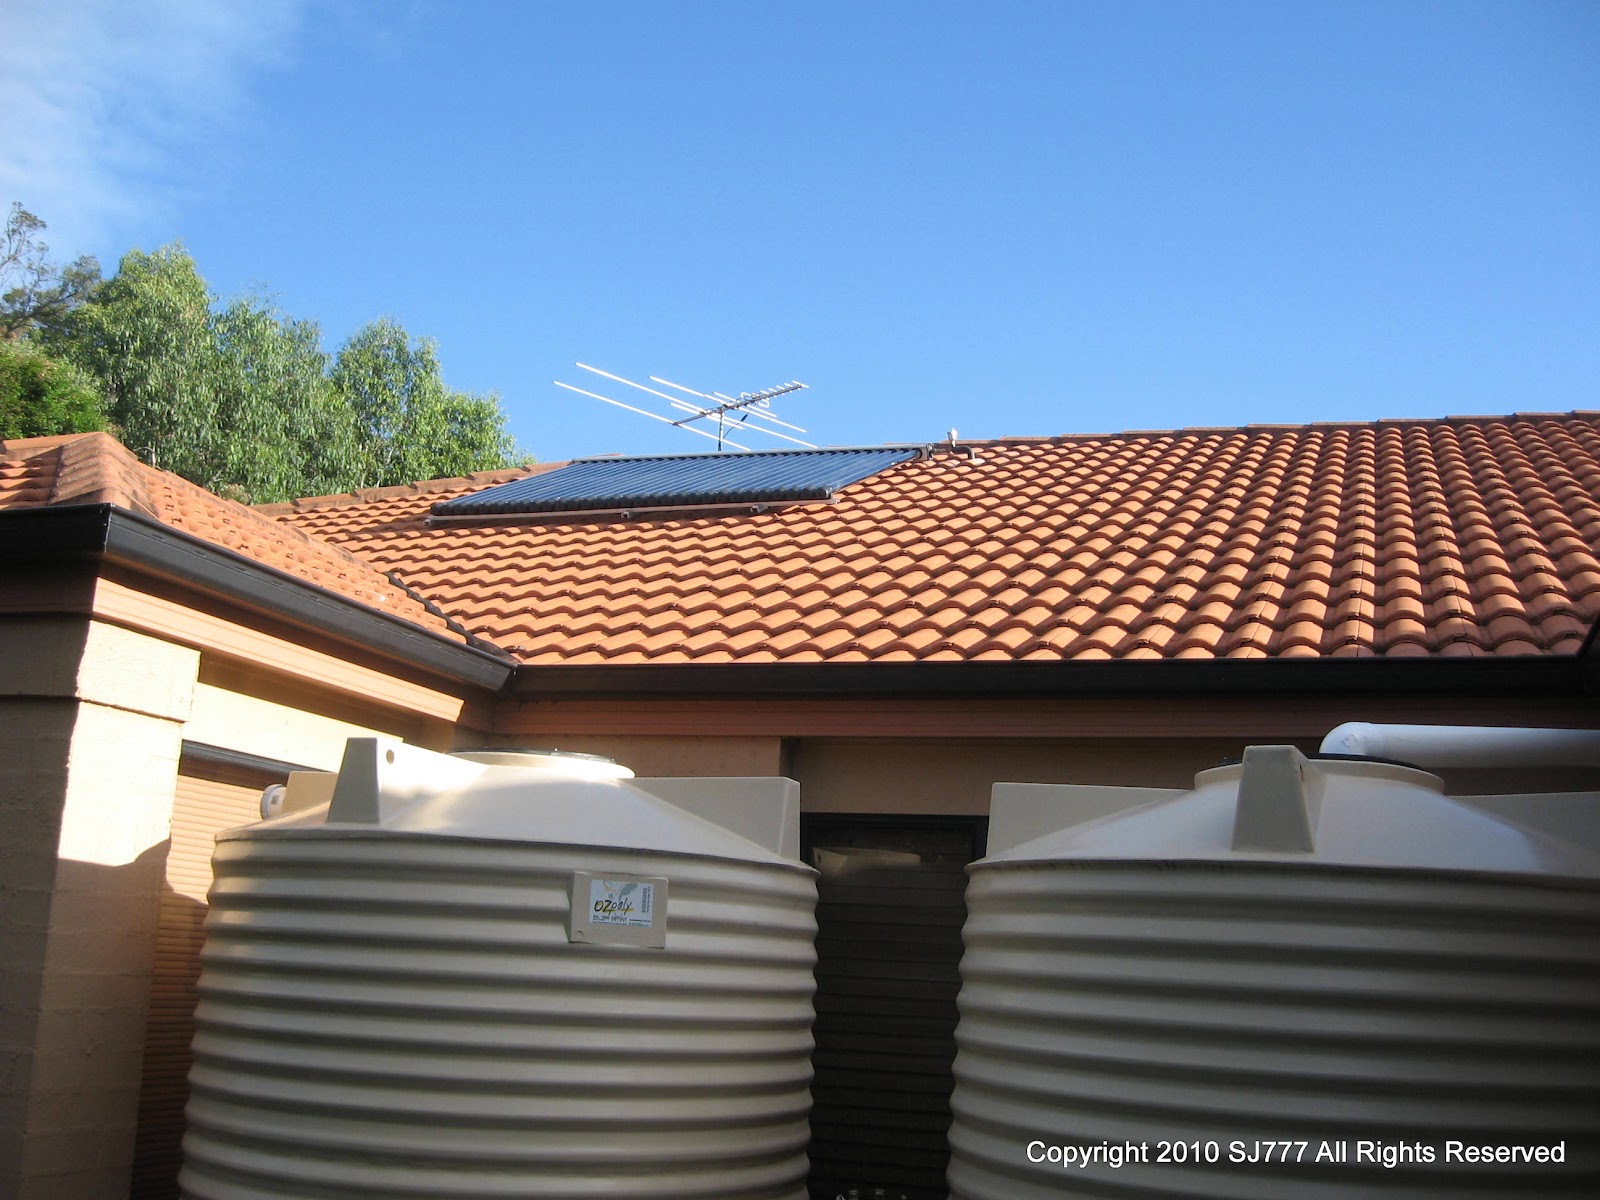
I had my new SHW system installed yesterday. It was done under the QLD gov scheme (three days before the fedral gov annouced they were reducing the rebate which the qld gov scheme relied on but looks like i'm in the clear and will get the full rebate). Anyway, the system is a 30 tube evacuated tube split system. It replaces my aged electric system. It still worked fine but probably would need replacing in the next 5 years so now was a good time to jump to it. Out of pocket it cost be about $900 i think. The full system cost was somewhere in the $3000+ range. Here some before and after shots:
The old tank:
The new tank:
For the amount of pipework and cabling etc, i thought it looked pretty clean. I need to pretty up the electrical cabling a little with some conduit as it's too exposed for my liking. I've also had to put some barriers up as the dog chewed up some bits and pieces of the old one when we first moved in. Dont want that happening again.
Some before and after shots of the collectors:
The roof area
The frame and manifold:
The heat pipes installed:
The heat pipes are sealed and simply plug into the manifold. The tubes are made of something like Pyrex glass. Are evacuated and inside there is another tube that has the heat transfer liquid or gas. There's two sensors; one in the bottom of the tank and one on the collectors. If the water needs heating, the controller checks if the collectors are 6 deg C above the tank temp and starts pumping the water through the manifold. If not then it uses the mains booster to heat it. We currently have the night rate tariff (12am to 7am) so it will only boost between those times. I have a remote boost switch in the laundry which allows me to turn off the boost completely and that's how it will be a much as possible. There is also an airvent on the outlet of the manifold that is supposed to reduce any gurgling from the system.
At about 3:30pm on install day the roof sensor read 140 deg C. At 8:30am the next day it was 120 deg C
We had no hot water obviously the night of install and I left the boost switch on to boost overnight. I got up at 3:30am to put the cat away and saw the boost light was not on. My first thought was a wiring problem. I checked the meter box and the night rate controller was in the ON position, but I found the HW mains breaker was still OFF. The installers had unfortunately forgotten to switch it back on when leaving. The few hours from then to waking up did the trick and we have hot water.
Some close ups of the plumbing and the controller:
EDIT: 15 March 2010 - After weeks of rain and a few sunny days I discovered the system was not actually working properly. Two sunny days in a row would see roof temps of 150 deg C and inlet and return pipes that were cool to the touch. The problem was that the pump was in backwards. Strange that there were no direction arrows on the pump but at least it was an easy fix. A colleague loaned me some temp sensor loggers and after the fix here is the data log. BLUE is the solar water return from the collector and the RED is the feed from the inlet to the roof.
The old tank:
The new tank:
For the amount of pipework and cabling etc, i thought it looked pretty clean. I need to pretty up the electrical cabling a little with some conduit as it's too exposed for my liking. I've also had to put some barriers up as the dog chewed up some bits and pieces of the old one when we first moved in. Dont want that happening again.
Some before and after shots of the collectors:
The roof area
The heat pipes installed:
The heat pipes are sealed and simply plug into the manifold. The tubes are made of something like Pyrex glass. Are evacuated and inside there is another tube that has the heat transfer liquid or gas. There's two sensors; one in the bottom of the tank and one on the collectors. If the water needs heating, the controller checks if the collectors are 6 deg C above the tank temp and starts pumping the water through the manifold. If not then it uses the mains booster to heat it. We currently have the night rate tariff (12am to 7am) so it will only boost between those times. I have a remote boost switch in the laundry which allows me to turn off the boost completely and that's how it will be a much as possible. There is also an airvent on the outlet of the manifold that is supposed to reduce any gurgling from the system.
At about 3:30pm on install day the roof sensor read 140 deg C. At 8:30am the next day it was 120 deg C
We had no hot water obviously the night of install and I left the boost switch on to boost overnight. I got up at 3:30am to put the cat away and saw the boost light was not on. My first thought was a wiring problem. I checked the meter box and the night rate controller was in the ON position, but I found the HW mains breaker was still OFF. The installers had unfortunately forgotten to switch it back on when leaving. The few hours from then to waking up did the trick and we have hot water.
Some close ups of the plumbing and the controller:
EDIT: 15 March 2010 - After weeks of rain and a few sunny days I discovered the system was not actually working properly. Two sunny days in a row would see roof temps of 150 deg C and inlet and return pipes that were cool to the touch. The problem was that the pump was in backwards. Strange that there were no direction arrows on the pump but at least it was an easy fix. A colleague loaned me some temp sensor loggers and after the fix here is the data log. BLUE is the solar water return from the collector and the RED is the feed from the inlet to the roof.
Saturday, February 20, 2010
Solar Lights - Nice
So my local bunnings (hardware store) had a great deal on a set of 10 solar garden light for $20. Even the nicad AA batts are more than $2 a unit to buy so this was a great deal. And whats more they look great. So i went and bought 2 more boxes and 1 for my mum in law. Taking a picture at night is not so easy but here ya go...
I bought a set of 12v dc halogen spike lights late last year but so far have not really got them here i want them or usuable.
Tuesday, February 9, 2010
Veges by Chance
The previous owner of our house had some vege plants growing at some point I believe because out of no where came this bean plant back in Dec 2004.
Beans tasted great. Nothing like eating some fresh raw beans. I knew nothing about vege growing back then. I didn't know about legumes and nitrogen and all that. I do now and I've sown a few dwarf beans that have come up. I'm looking forward to eating them.
Subscribe to:
Posts (Atom)